Electric cars are gradually replacing conventional cars that use petrol and diesel, and in the nearest future, conventional cars will no longer be valued. Although electric cars are much more expensive than fuel-powered cars. With electric cars whose batteries can be recharged with solar PV system, you no longer need to go to a patrol station to buy petrol or diesel for your car. All you need is to recharge your car batteries when it runs down with a solar PV system. What if you don’t have enough money to buy a solar-powered car or an electric car, what do you do? The good news is that you can convert your conventional car to an electric-powered car, whose batteries can be recharged with solar PV system in your garage by following the step by step guide in this article. You will also learn how to build a solar garage for recharging your electric car batteries.

The concept of converting a conventional car (petrol-powered or gasoline-powered) to electric car involves removing the entire internal combustion engine, replacing it with an electric motor. Then you also install a large battery bank to power the electric motor. You can go further to build a solar bank for charging the huge battery bank of the electric car. All these will cost you about $10,000 to $12,000 (converting to electric car will cost around $4,000 to $5,000, while building a solar garage will cost you around $6,000 to $7,000). But it worths the investment because you will never need to buy petrol or gasoline for your car again.
Step by Step Guide on How to Convert a Gasoline Car to Electric Car
An old gasoline car was used for this tutorial. But you can convert any conventional car model or brand to an electric car using the guide below.

Dismantling the Car Parts
- Disassemble the following car components: hood (car bonnet), spare tyre and ignition system, expansion tank, radiator, air filter for access to carburettor, fuel supply, clutch cable, alternator, engine and gear box.
- Drain the gear box and engine oil.
- Unscrew the shock absorber and remove the sub-frame with the engine and gearbox.
- Disconnect the engine and gearbox.
- Remove the exhaust.
Installing the Car Engine and Gear Box
Connect the electric motor and the gear box. You will need an adapter plate, which has the same holes as the gear box. You will also need a spacer. The fly wheel needs to fit perfectly on the gear box. You might also need to buy a new set of clutch.
Assemble the engine and adaptive plate.

Install the clutch.
Connect the engine and gearbox.

Install the car engine.

Installing the Electrical Components on the Work Plate
Install a work plate, where you will install all the electric components such as the DC motor, electric controller, electric liquid pump (to pump the liquid coolant), main contactor, relays, throttle body, etc.
Installing all the electrical components on the work plate helps to make troubleshooting a lot easier.
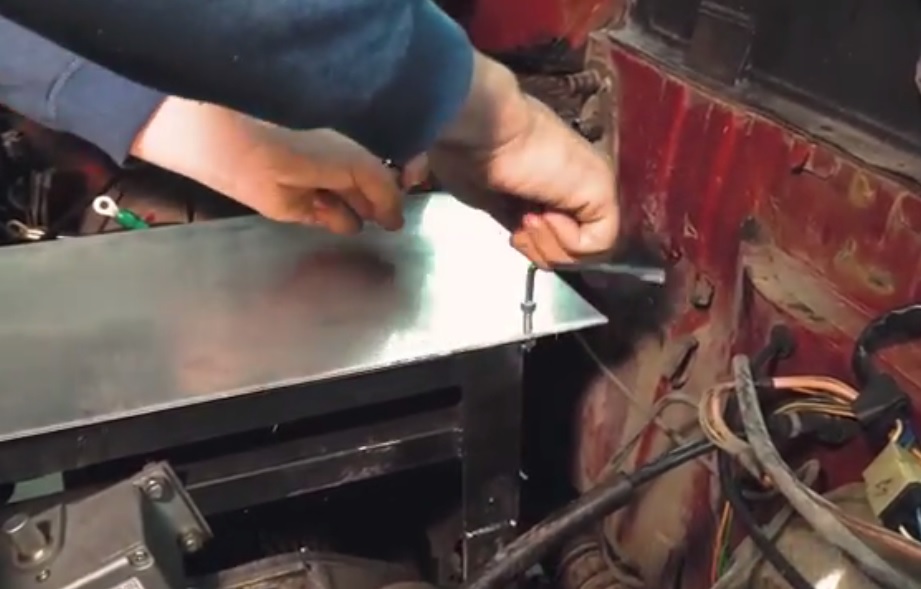
Install the engine controller. Here we used a small but powerful controller, with a rating of 80V and 400A. You need to add an additional liquid coolant, so that the car can attain a very good torque speed. The controller is attached to a cooling plate. So the liquid coolant will cool the plate, while the plate cools the controller, to avoid overheating.
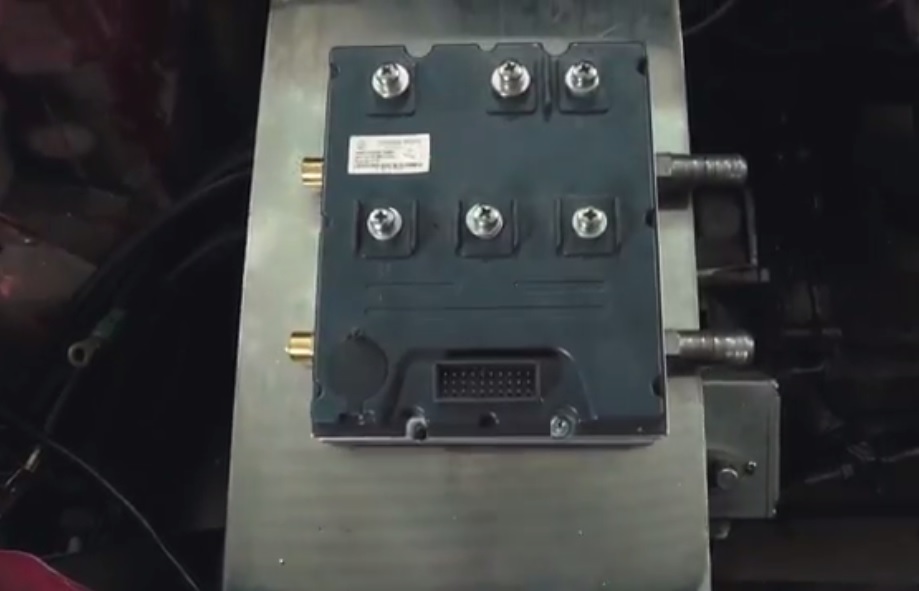
Next, install the liquid pump.

Assemble the cooling system and test it.

Install the throttle and test it.

Next, connect the wires.
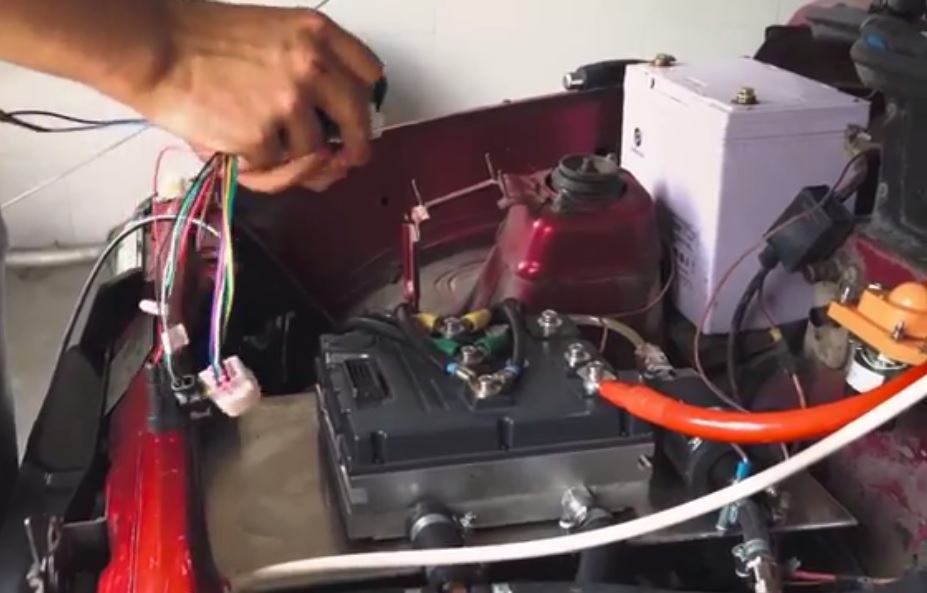
Connect the RPM sensor android auto body wires.
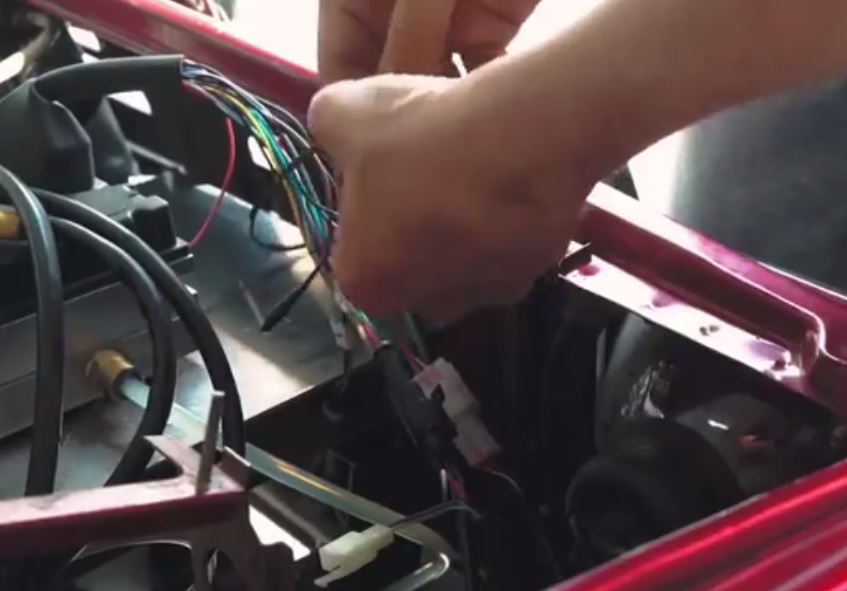
Fit in the relays for the liquid pump and main contactor.

Connect the relays to a 12V on-board battery or batteries set.

Check:
- Various Ways to Make Solar System Wiring/Connections for Home
- Best Ways to Protect your Solar System via Effective Earthing
Do you wish to learn the step by step guide for solar PV system design and installation? Then check out this eBook on Amazon: Complete Solar PV System Installation Guide. It contains DIY guides for installing grid and off-grid solar PV systems, how to build solar-powered electric cars and the various ways to make money from the solar energy sector.
Installing the Electric Car Battery Bank
The battery is the most important aspect of the electric car assembling. So you need to pay keen attention in this section.
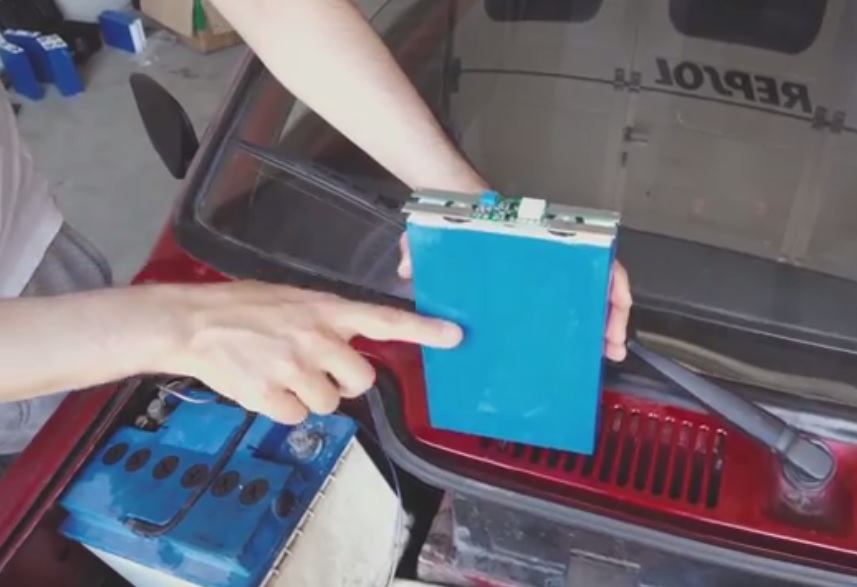
You will need 72V nominal battery bank. Note that the Lithium-ion battery cells have a nominal voltage of 3.2V, approximately 3V. So to achieve a nominal voltage of 72V, we will need to connect 24 (that is 72/3) cells in series.
Connect twenty-four 80Ah Lithium-ion deep cycle battery cell in series. You need to balance all the batteries before connecting them. You can use the top balancing method, discharging to 10% (around 2.7V) and then recharging them again to at least 90% capacity, so that they have equal voltage after discharging.
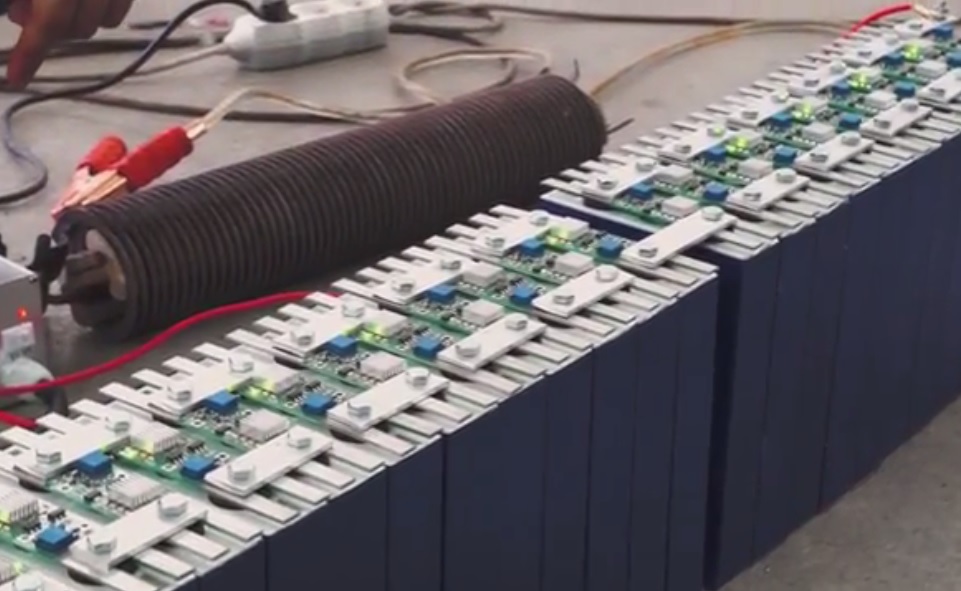
You will need to use balancers, which will help to control the current going into the cells, and also prevent overcharging of the batteries.
First, connect the batteries in set of four (4 batteries in each set, 12V for each set) and then combine them via the balancers to make up the first 48V battery set. Add additional resistance for current control when charging the batteries.
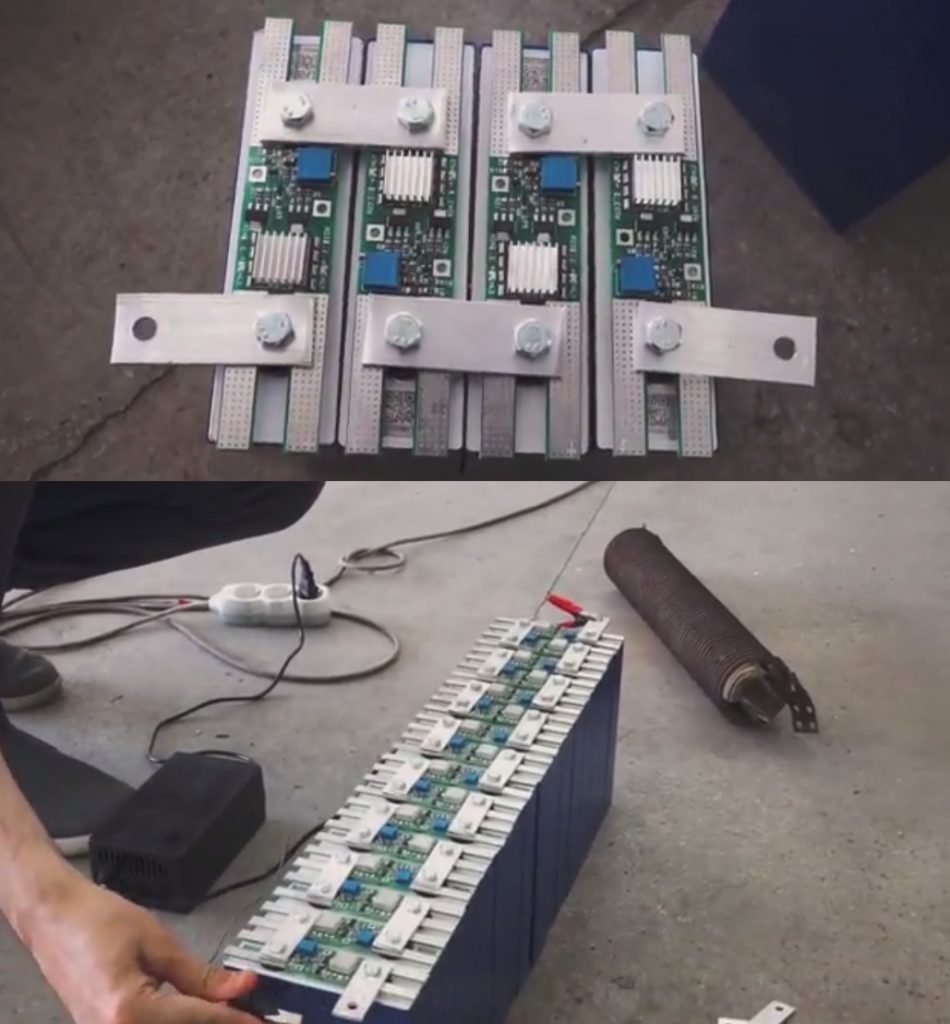
When all the balancers display a green light, it means they have charged up to 100%. Red light means over charging, which must be avoided. Use the additional resistance to control the charging current.

Now assemble the 72V (nominal) battery set for final balancing.
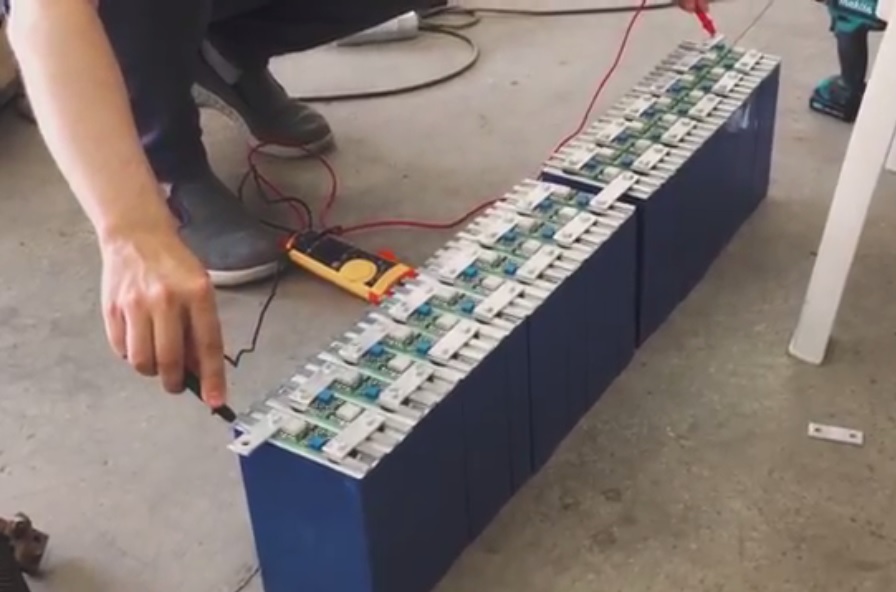
You will need battery charger of 86V, 15A (for Lithium-ion batteries) for the battery bank. Add a fuse for safety.
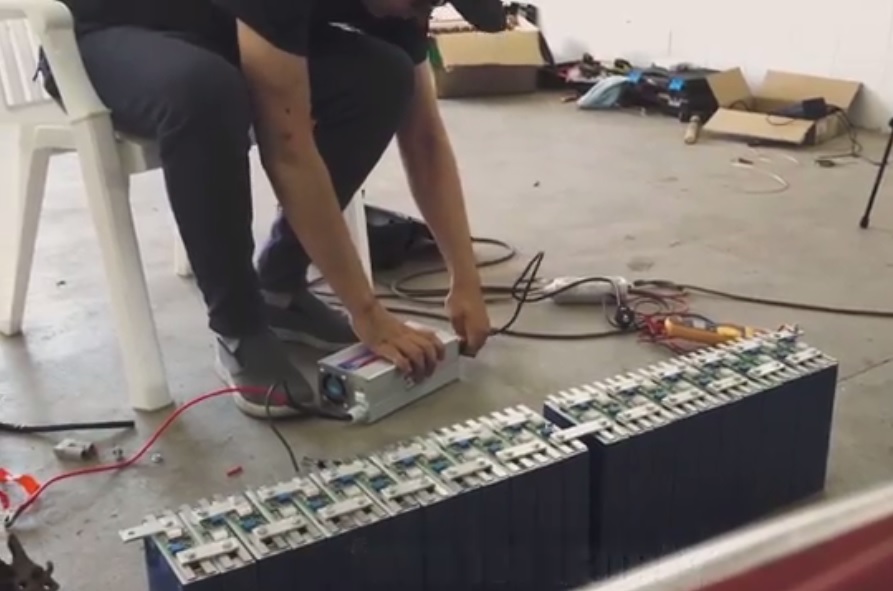
The charging current must not exceed 2A, as balancers can’t consume more than this. Note that when the balancer indicator LEDs for all the battery cells display green light, it means that the batteries are fully charged.
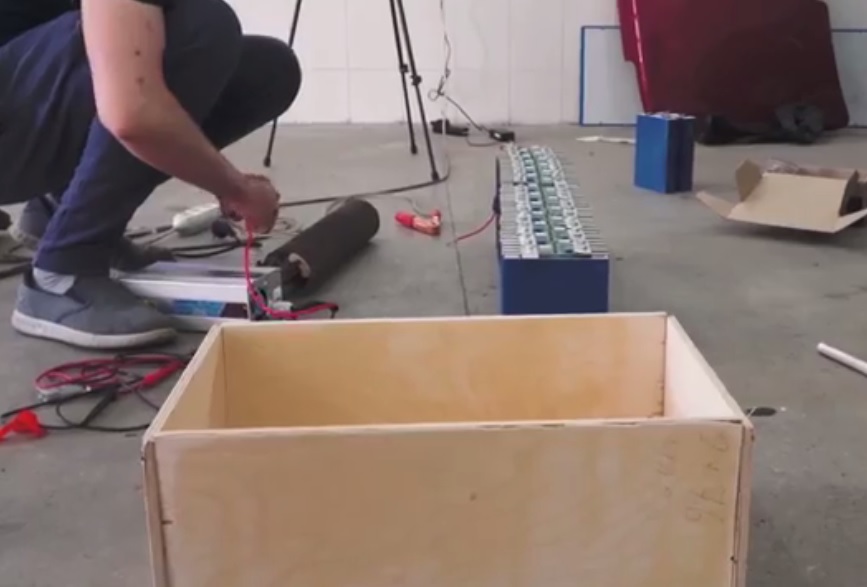
Construct a wooden crate for the battery bank. The total volume of the wooden crate should be the total volume of the 72V (nominal) battery set.
Fix the wooden crate at the back of the car and then assemble the battery set inside the wooden crate at the car rear. Connect the batteries in series. Screw nicely and tightly for good contact.

Install the 400A main fuse.

You can also use the Lithium-ion batteries for the on-board 12V battery (4 of the Lithium-ion batteries will give you 12V – nominal).
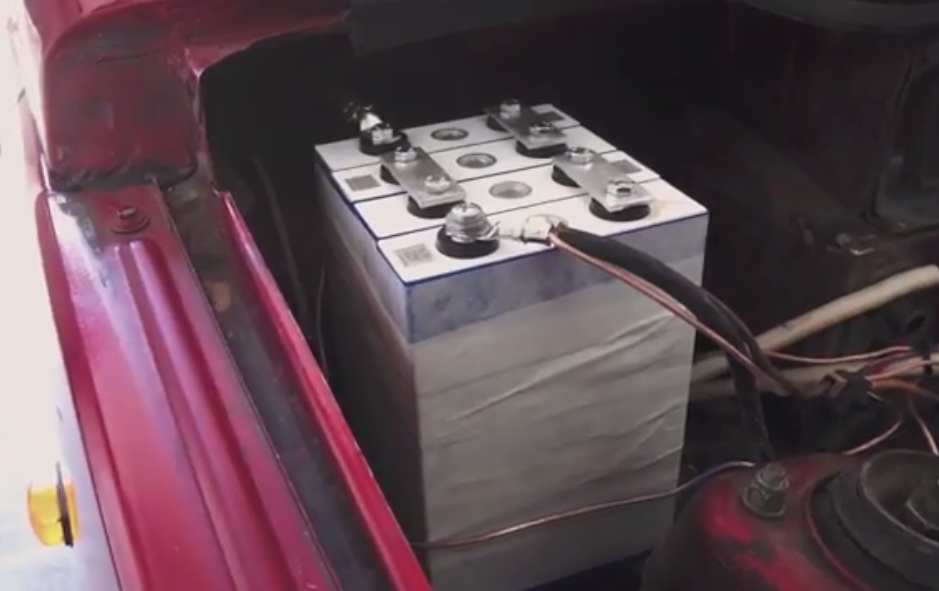
Now connect the main power wires.

Check the main contactor.

Do your first test drive to check if everything works perfectly.

If everything works fine, then connect back the hood (bonnet).
Test the car for Km range, top speed, peak power, peak torque, battery bank charging hour, battery capacity in KW/h. Also check out for the first electric burnout of the electric car.
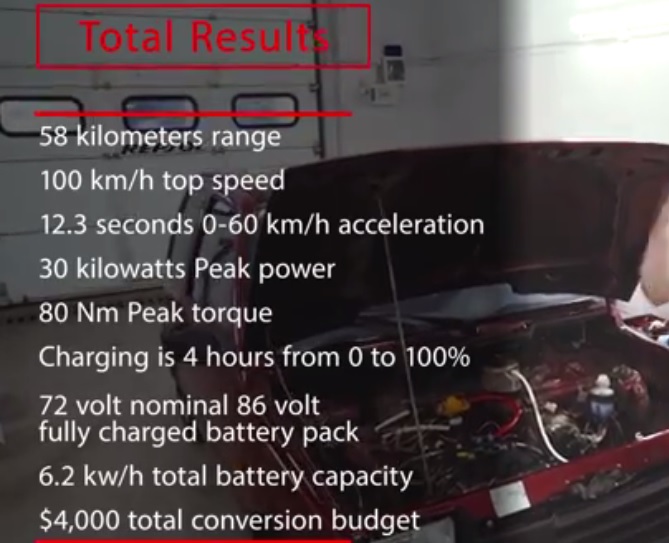
NOTE: The estimated cost for converting a conventional car to electric car is about $4,000 to $5,000 (cost of building solar garage not included).
Electric Car Conversion Kits
Another easier way to convert conventional cars to electric cars is via the use of electric car conversion kits. Two types are available: custom kits and universal kits. The custom kits are made for some specific car models, while the universal kits can be installed in any car model. The custom car conversion kits are more expensive because they include the entire drive system, battery rack and boxes, all customized to suit a particular car model. The universal electric car conversion kit contain only the essential drive system components, but the builder is required to construct some custom parts like the battery racks or boxes.
How to Build a Solar Garage for your Electric Car
You can go further to build a solar garage (off-grid or on-grid) for recharging the battery bank for the electric car. First is to setup the solar array, with about six 300W solar panels. Then finally, you setup the solar garage. For the solar garage, you will need a charge controller, power inverter, deep cycle batteries. The solar array should have an effective voltage of about 86V and should supply a charging current of about 15A, and then the total wattage of the solar array should be around 1500W. You might need to recalculate these values, depending on the rating of your engine controller.
NOTE: The cost of building a solar garage is around $6,000 to $7,000. You will cover this cost on the long run (within few years).
See:
- Solution to All Solar PV Systems Installation Calculations
- How to Install an Automatic Pump Controller using a Float Switch


You can learn the concept of building a solar car from scratch with this PDF.
NOTE:
You can wire your garage solar PV system in such a way that both the power from the solar array and the electric power from the utility mains can charge the battery bank.
Once the car batteries run down, you recharge them with electricity from your solar PV system in your garage. You can even install the solar array in the roof top and then fix all the solar components in the car, so that the car batteries can be recharged on the go.
Just feel free to make your own modifications. Learning is fun!
Video of How to Convert a Conventional Car to an Electric Car
Check:
- How to Mount Solar Panels on Roof Tops & Standalone Structures
- How to Connect Solar Batteries & Panels to Charge Controller
Conclusion
You have learnt how to convert a conventional car to a solar-powered electric car and how to build a solar garage for recharging your electric car batteries, etc. Note that you might need to make some adjustment while carrying out these guide, depending on your car brand and model. Feel free to utilize the free YouTube videos to learn more about how to build electric cars and how to convert conventional cars to solar-powered electric cars.
Did you find any section of this article confusing? Ask your questions in the comment section below. Share this article with your social media friends by clicking a share button. Don’t forget to subscribe to this blog via email to stay up to date with our upcoming tutorial articles. Enjoy!


