Chin chin frying is another trending lucrative business you can start from the comfort of your home. You can make cool money by making chin chin. All you need is how to make it very healthy and tasty, how to package and how to locate your customers. In this article, you will learn how to make a tasty, crunchy chin chin, how to package and market it.
How to Make Tasty & Crunchy Chin Chin: Step by Step DIY Recipe Guide
Ingredients and Quantity
- 2 cups all-purpose flour
- 1 tsp. baking powder
- 1 medium size egg
- 8 tsp. sugar, or to taste
- 5 tbsp. water
- 1 tsp. nutmeg or cinnamon
- 1/2 cup powdered milk
- 6 tsp. margarine
- Enough vegetable oil, for frying
Recipe for Frying Chin Chin
- In a medium size bowl, mix the dry ingredients. The dry ingredients are flour, baking powder, sugar, milk, nutmeg (or cinnamon).
- Add your margarine to the dry ingredients and rub it in until the mixture becomes crumby (like breadcrumbs).
- In a small bowl, break the egg and beat it very well.
- Now, fold in the beaten egg to the mixture. Note that eggs make your chin chin soft. So if you desire a soft chin chin, make sure you add egg to the mixture.
- Next, add the water bit by bit and then form balls with the mixture. This ball is called a dough.
- Allow the dough to rest for about 10 minutes.
- Next, get a clean, smooth surface, preferably a chopping board. Apply a little flour on its surface.
- Now transfer the dough to the clean surface. Roll in out with a rolling pin to your desired thickness. It should neither be too thick nor too thin. Alternatively, you can use a bottle to roll it out.
- Next, from the rolled or flattened dough, cut out your desired shapes. You can make it oval, rectangular, or any shape of your choice. But make sure that the shapes are even.
- In a deep frying pot, pour a good amount of groundnut oil for frying the cut dough (chin chin).
- Heat up the oil for about 10 to minutes. To check if the oil has heated up enough for frying the chin chin, dip the tip of a dry spatula (turn garri) into the oil. If the oil bubbles, then you know it heated up enough for frying the dough.
- Now pour in the chin chin for frying. Do not over crowd your pot and don’t over fry your chin chin.
- Once the chin chin turns light golden brown, you sieve out the chin chin with the aid of a perforated spoon.
- Note that the chin chin will fry for some time when you sieve it out before it cools down. That is why you should not over fry them in the oil before bringing them out, to avoid having a burnt chin chin.
- Now, pour the fried chin chin on a flat, dry surface. You can spread some rice or garri sacks on a clean, dry flour and then pour the chin chin on them to cool down.
- Then store in a dry jar that has an airtight cover or any airtight storage container of your choice. Alternatively, you can start packaging the chin chin for sale using any of the packaging ideas below.
- Enjoy your tasty and crunchy chin chin!
NOTE: Nutmeg is usually the default flavour for chin chin, but you can add any flavour to your chin chin to give it a unique taste. For example, minimie chin chin has a very unique taste because cinnamon was used in place of nutmeg.
How to Bake Chin Chin with Oven
- Make sure you have prepared your baking pan or baking tray by rubbing some margarine or melted butter on it.
- After cutting the dough to your desired shapes, carefully place these cut unbaked chin chin inside the baking tray or baking powder. The former serves better. Make sure they don’t stick together in the baking tray or pan.
- Then put it inside your oven and bake until light brown, about 20 to 30 minutes. Check at 10 minutes interval to avoid over baking or burning your chin chin. Remove from oven and transfer to a tray once done.
See:
- How to Bake & Decorate a Cake: DIY Business Guide
- How to Start Peanut Burger Business: Production & Marketing Guide
Guide on How to Label, Package & Market your Chin Chin for Sale
After frying your tasty and crunchy chin chin and making it ready for consumption, another important aspect, especially if you wish to sell it and make money is how to package it and then how to locate your customers.
Branding and packaging are very important aspect of any business. It helps you build reputation for your business. It is always advisable to design a label for your chin chin. You don’t really need to spend much money to design a label for your product. If you have the necessary graphic design skills, you can do it yourself, else you hire a good graphic designer.
Different Packaging Styles & Samples for Chin Chin
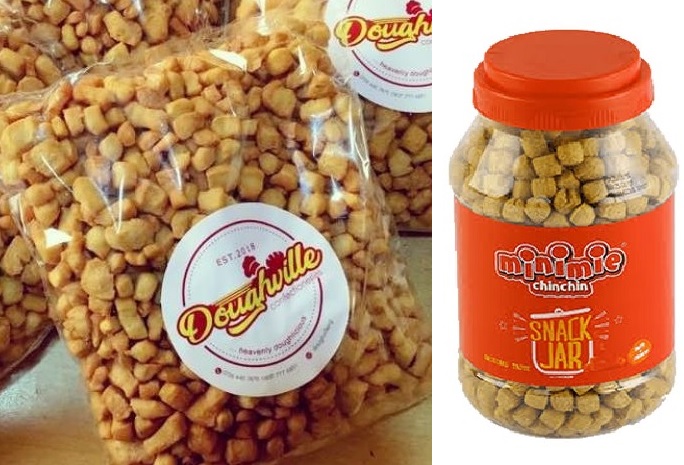
Depending on your budget, you can just duplicate the labels, print it out on normal A4 paper and then cut them out. Now, you can use small, transparent nylon to package the chin chin, add a label to each packet and then knot it, or fold the wrap and then staple it using a stapler. You can also use a colourful ribbon to tie it.
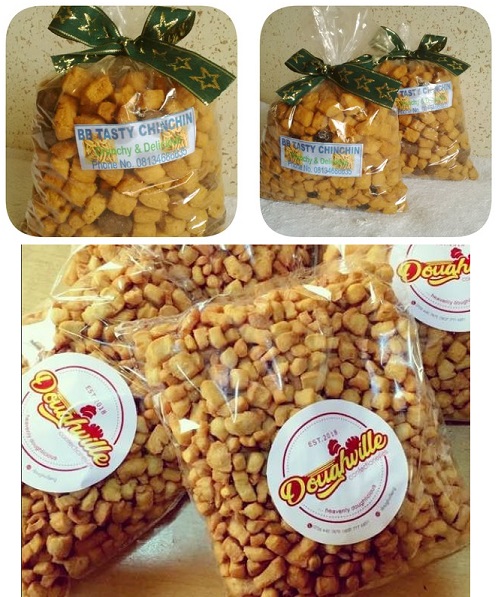
Option 2 is to imprint the label on the packaging wrap, just like the normal biscuit packet. After packaging the chin chin, you seal it with a sealing machine.
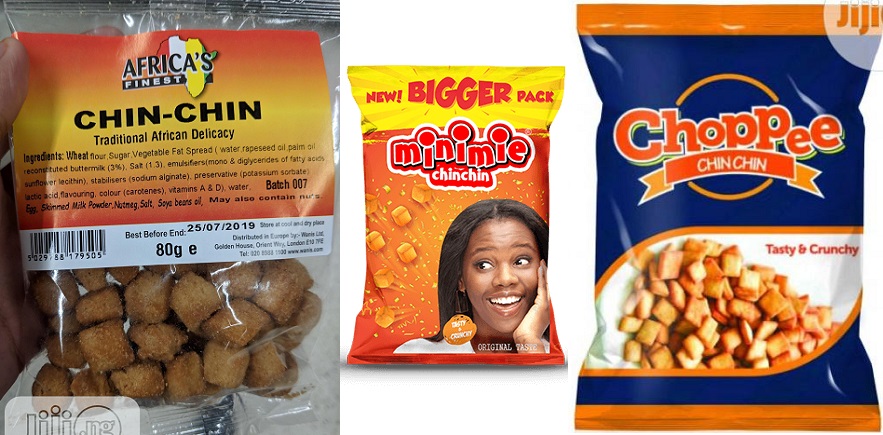
Option 3 is to use small, transparent cups with cover, then paste your label on the body of the cups.
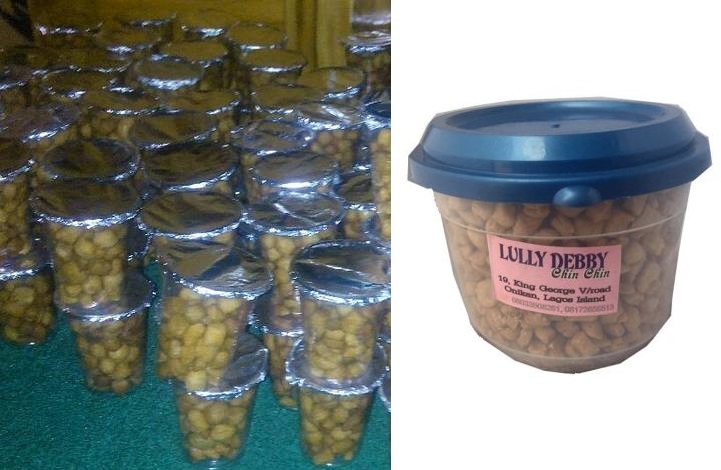
Option 4 is to use a small transparent can with cover (like those of table water or soft drinks). Paste your label on the body of the can.
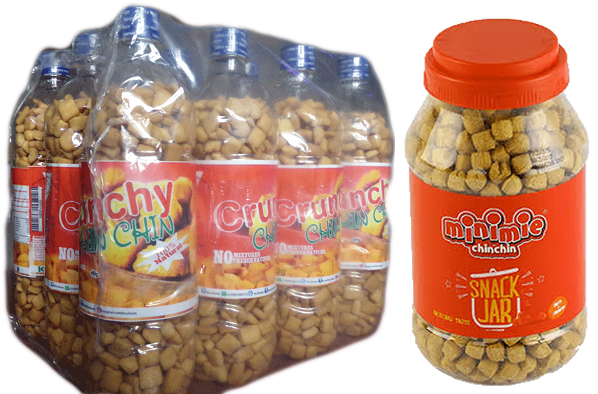
These are the 4 best options for packaging and labeling your chin chin. You can try out any other option that comes across your mind.
Check:
- 10 Best Ways to Improve Social Media Presence of Small Businesses
- 5 Best Websites to Learn Web Development and Programming
How to Market your Fried Chin Chin & Make Money
After packaging your chin chin, another important aspect is how to market it and make money. In fact, this is the most important aspect.
You need to decide on the price to sell the chin chin per package. If you also plan to supply to retailers, you also need to decide on your retail price per package. In any case, make sure your price is reasonable; not too cheap and not too costly. You can first go for market survey and see how other chin chin makers prized their product.
A very good strategy is to package in smaller units and then reduce the price. This way, your chin chin will sell more, and you will make more money based on your rate of turnover. This strategy works very fine in areas where there are competitions between different chin chin brands.
For marketing and supply, you can sell your chin chin to retailers who sell in school premises and market places. Another option is to supply to supermarkets and shopping malls. You can also open a shop where you can sell both in bits and in bulks. Combining some of these marketing strategies will help you make more profit.
See:
- 25 Best Lucrative Online and Offline Business Ideas for Students
- 12 Best Lucrative Agricultural Business Ideas: Beginners Guide
Conclusion
You have learnt how to prepare and fry tasty and crunchy chin chin, how to label, package and market your chin chin in order to make more money. Try these guides in this article and start making money from chin chin frying and selling.
Did you find any section of this article confusing? Ask your question in the comment section below. Don’t forget to subscribe to this blog via email to stay up to date with our business and entrepreneurship articles. Comment below. Share this article with your social media friends by clicking a share button. Enjoy!


